Close
Renovating your house can be exciting because it’s an excellent time to improve your home aesthetics, upgrade to energy-efficient appliances, increase your property value and more. Oftentimes there is always this fear of making too much dust just in the process and having to deal with all that cleanup afterward.
Luckily, for you, our Cheshire renovation experts are going to walk through a few useful tips on how to reduce dust during your home renovations. Having a grasp of these helpful tips will help you greatly, minimize the mess you make, limit dust to your work area only, and make your final clean-up quicker and easier. This way you get to enjoy the beautiful result of your hard work sooner!
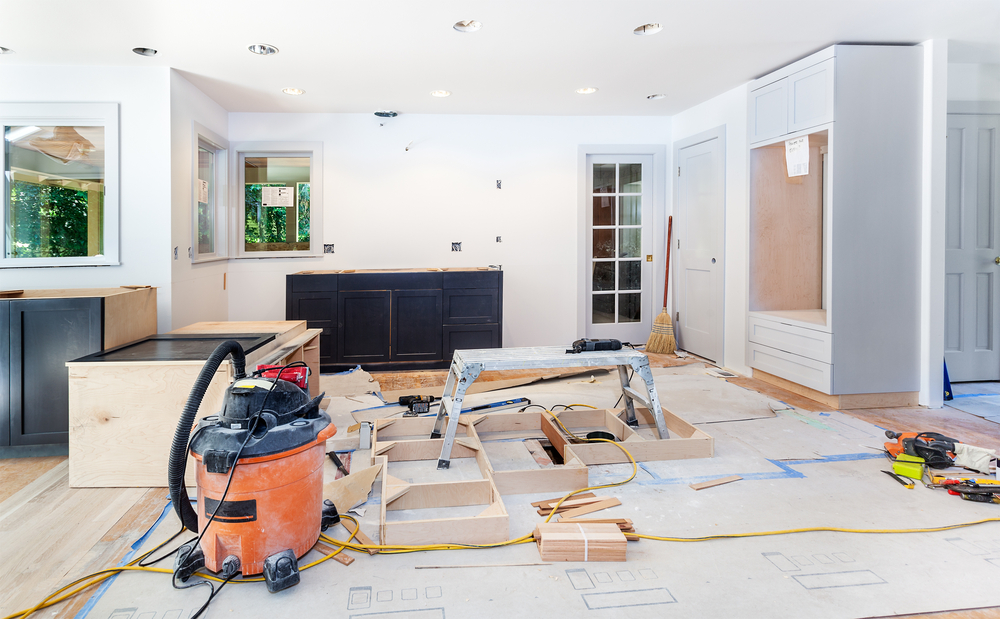
The reality is that any renovation will probably produce a lot of dust, including drywall dust, sawdust, and dust particles from other home renovation materials. It has a mysterious way of finding its way into every nook and cranny in a little while. It can spread even through every portion of your living space, covering furnishings, floors, windows, electronics, decorative items, and clothing. While you get to watch it spread quickly and effortlessly all over the place, wiping it out of your living space is an entirely different matter.
This dust can be harmful to one’s health. It is crystal clear that there are other issues having lots of dust in the home can cause besides leaving it dirty and unattractive. The clean air in the renovation zone also gets contaminated by more dust and debris, which lowers the quality of the air and puts people’s health at risk. It can also harm pets such as cats during a house renovation.
Additionally, it can harm appliances and furnishings, thereby necessitating expensive repairs. While it is practically impossible to totally remove dust, there are certain ways to minimize it during house renovations. Knowing these tips can help you protect your health, save time, and experience less stress during the final cleanup.
When you’re renovating your home, the last thing you want is for the dust to start flying everywhere. Especially if these are renovations you are doing before selling. Not only is it an irritant, but it can also be toxic to your health. That’s why it’s important to have a plan for reducing the amount of fine dust that’s created during the renovation process. Without any further ado, here are a few things you need to do:
Although it might seem obvious, practically everyone we’ve spoken to oftentimes forgets to include dust containment in their renovation budget, which is, in our opinion, one of the worst mistakes DIYers make. We’re not talking about a lot of money, but just setting aside a few pounds (depending on the size of your job) upfront to prevent dust.
Even if it comes at an additional cost, keeping your house clean while you’re remodeling is necessary! You will be happy you did because if you don’t budget for it ahead you might end up spending more money to keep dust out of your house after renovations.
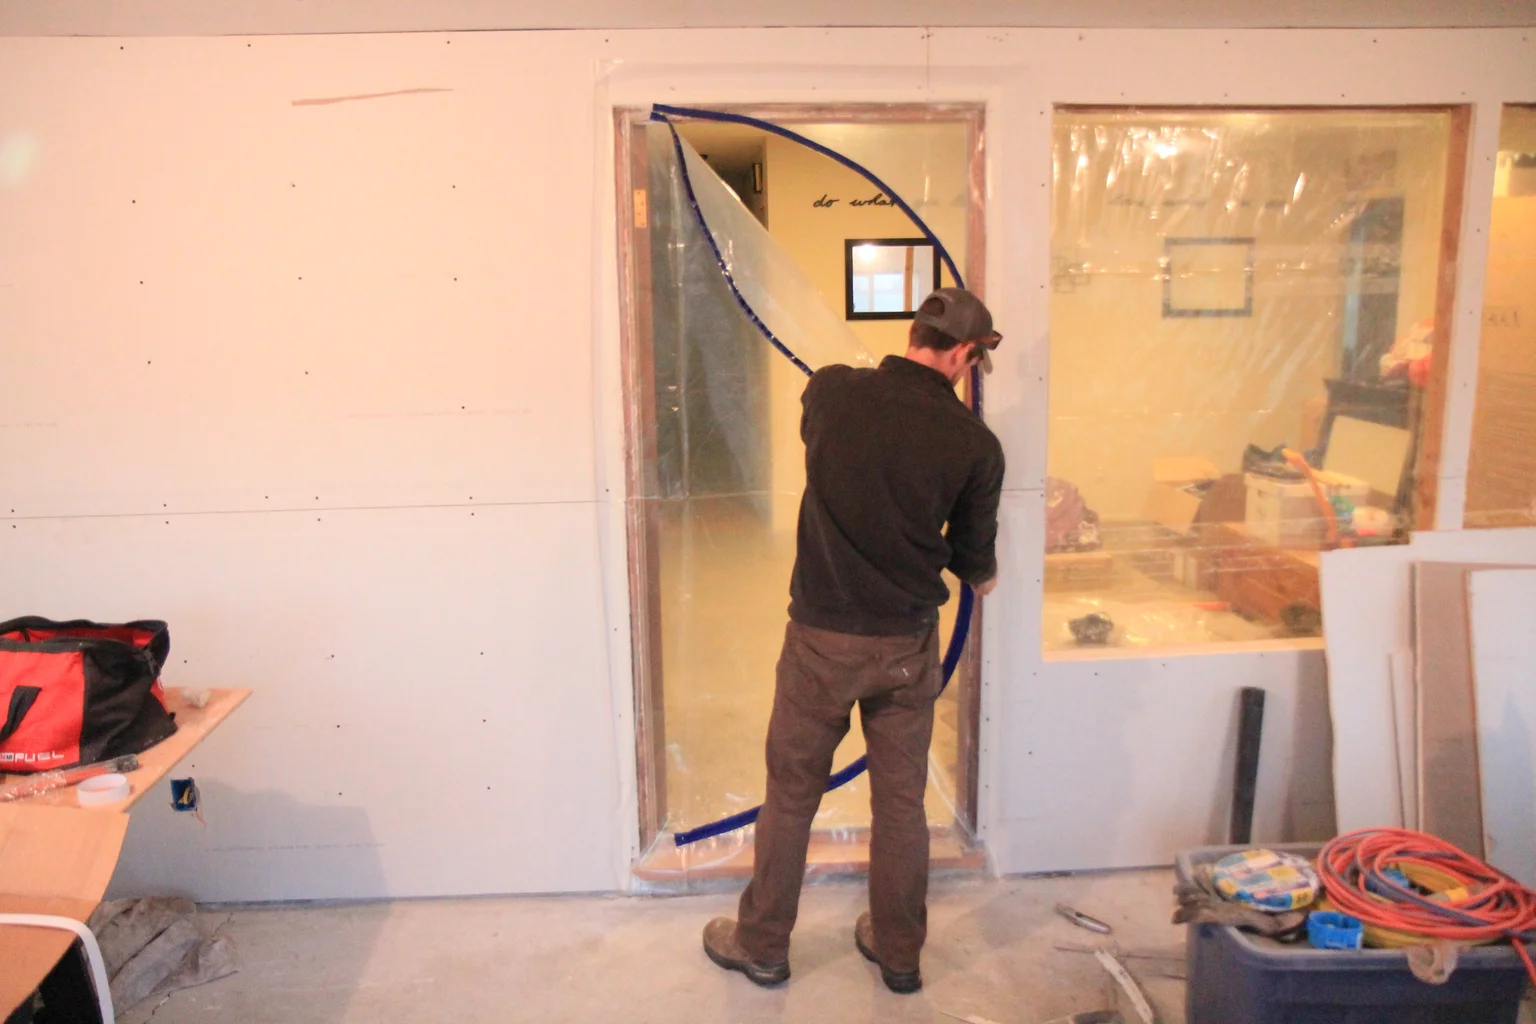
Make sure to seal off the room you are renovating as much as possible before you begin any demolition for a renovation. Create dust barriers between the work area and the rest of your home using plastic sheeting and masking tape. Cover with plastic sheets any area that you aren’t working on right away. Staple the plastic sheet into place and use tape to seal the edges( painter’s tape is great for this). Depending on whether you plan to keep the walls, you can either use duct tape or tape that is more suited for walls.
We advise using plastic that is at least 4 to 6 millimeters thick because it is both workable and durable enough to survive the duration of your home improvement project. If you tear it or poke a hole in it while working on your project, fix it immediately! You must continually check to ensure that your enclosure is still serving as an effective dust-proof during the duration of your project. Always verify if your enclosure is secure and that no sharp edges or accidental nails have managed to pierce it.
When thinking about the home renovation order, focus on the areas far away from the rest of the house before heading towards the separating wall if you’re conducting a lot of demolition as part of your project or perhaps tearing down a wall to create a space. The longer a permanent barrier can be kept between surrounding rooms, the better.
Create a temporary plastic wall on the opposite side before demolishing the final walls using some thick plastic, some dust containment poles, or a simple wood frame. For the remaining part of your project, this wall serves as a dust barrier as you work on the project, be sure to regularly inspect it for damage or loose patches.
Windows can be a great place to remove demo materials if your project area is fortunate enough to have them. In addition, they can be utilized to form a box fan enclosure so that the dust blows outside while you work.
This works really well with some tape and thick cardboard, scrap plywood, or plastic. If the fan is not running, bear in mind that there can be a breeze coming in if the windows are open, so make sure every other thing in the room is completely sealed up! This is a big tip especially if you’re living on-site during the renovation chaos.
Not covering your air ducts and air returns is one of the quickest ways to spread dust throughout your home. Your air filters will become clogged, and the dust will not only get inside but also spread throughout the whole part of the house covering every available surface of your essential possessions.
To avoid this problem, seal the area around every register in your workspace. After any renovation, I still advise changing the air filter in your system. Anyway, it’s something you have to do for a few months to maintain your system.

Having numerous entrances and exits for your team or yourself to enter and leave the project area is the fastest way to spread dust throughout your home. Keep to one doorway and completely seal all other points of access.
If possible, remove all the demo items from the room through the open window to reduce the amount of time you spend going in and out. Install a sturdy dust containment door kit with a zipper at your access point.
Many people assume that dust containment stops with the demo portion of the home improvement project, so they remove any dust containment they have in place and discard it.
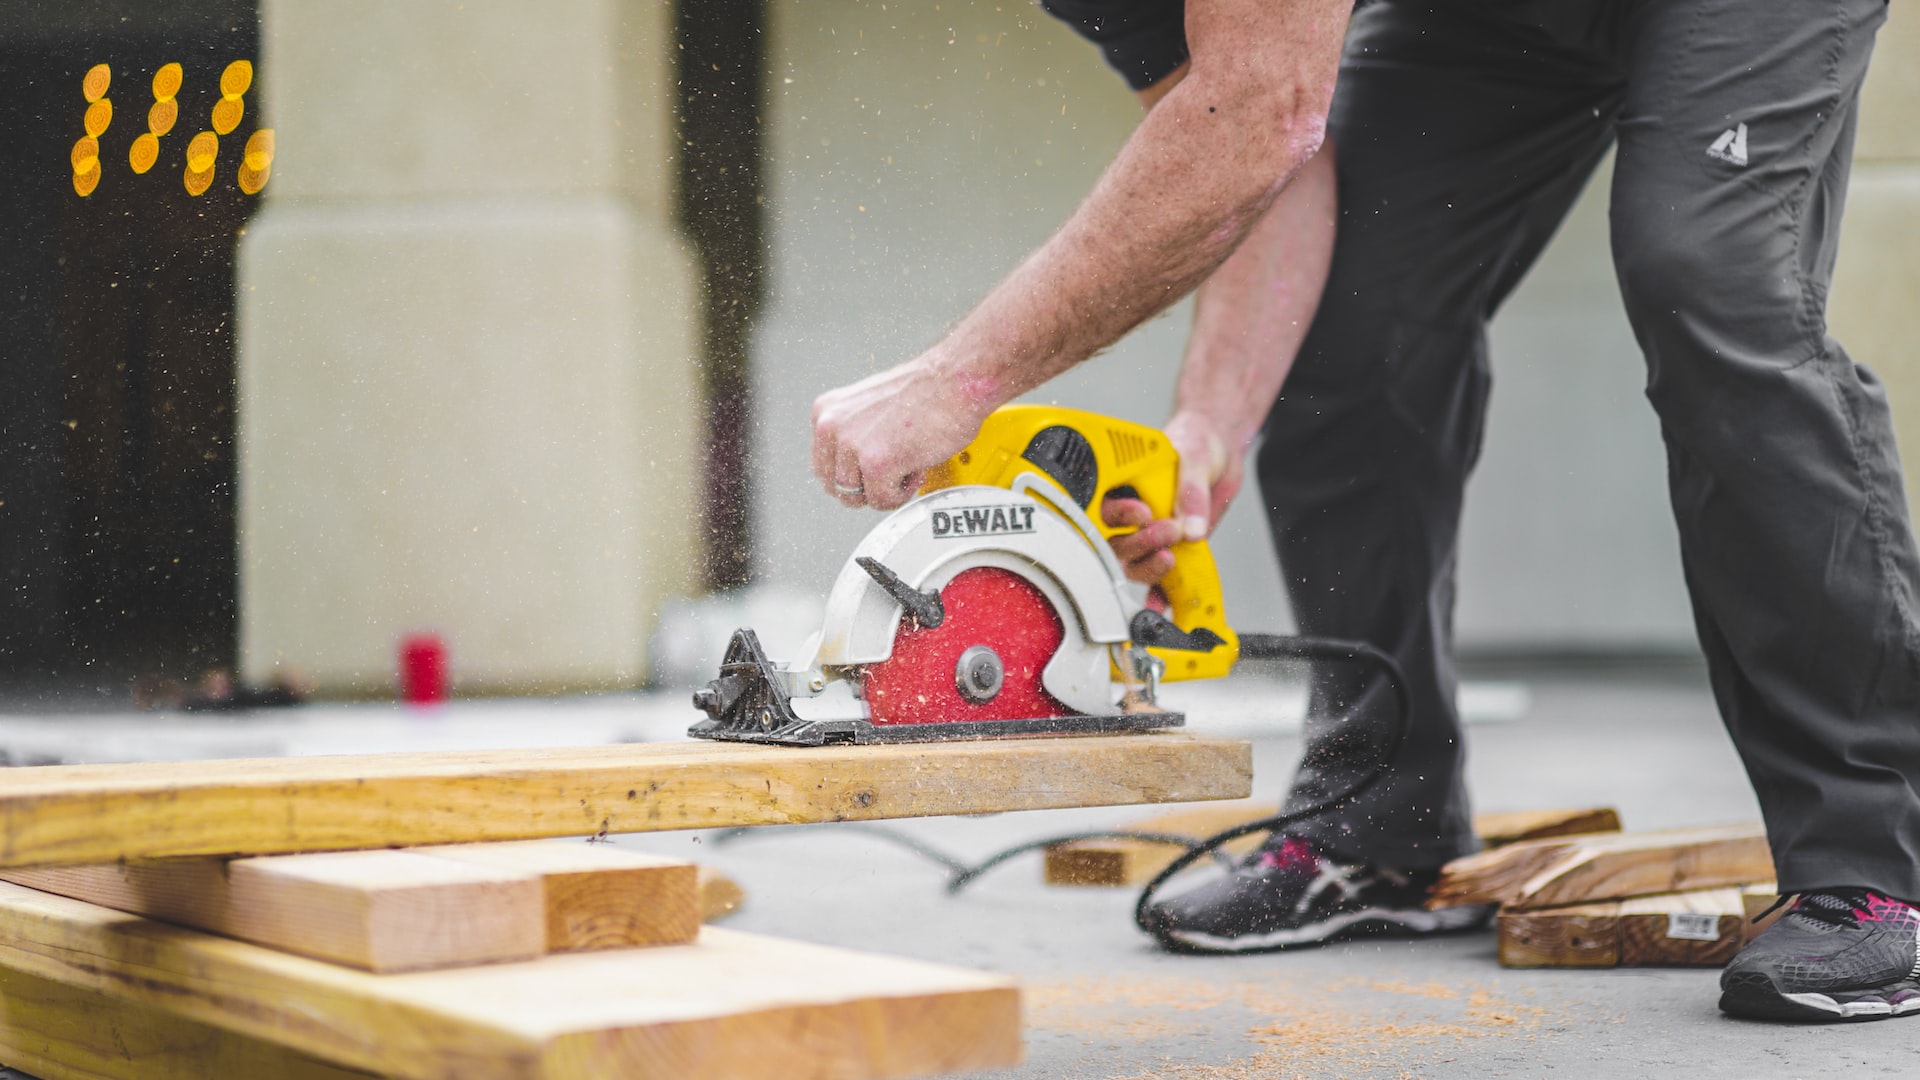
However, cutting and sanding drywall produces more dust than most other renovation activities combined. We advise cutting your drywall and other renovation materials as much as possible outside. Do your best to keep out as much dust as possible!
You may avoid a lot of headaches by spending a little time upfront to protect your floors both inside and outside the project area. This relates to the earlier discussion about the need to create singular pathways.
To protect your floors, designate specific routes for you and your employees to use to and from the project site and to the restroom.
Your carpet will absorb the dust from the job site, so you might not notice how dirty it has become. It can be hazardous for children and animals to crawl around on. Cover it with protective carpet film to keep it safe. Use some floor-protecting thick cardboard to keep the dust and debris off hard surface floors like hardwood floors, linoleum, or tile.
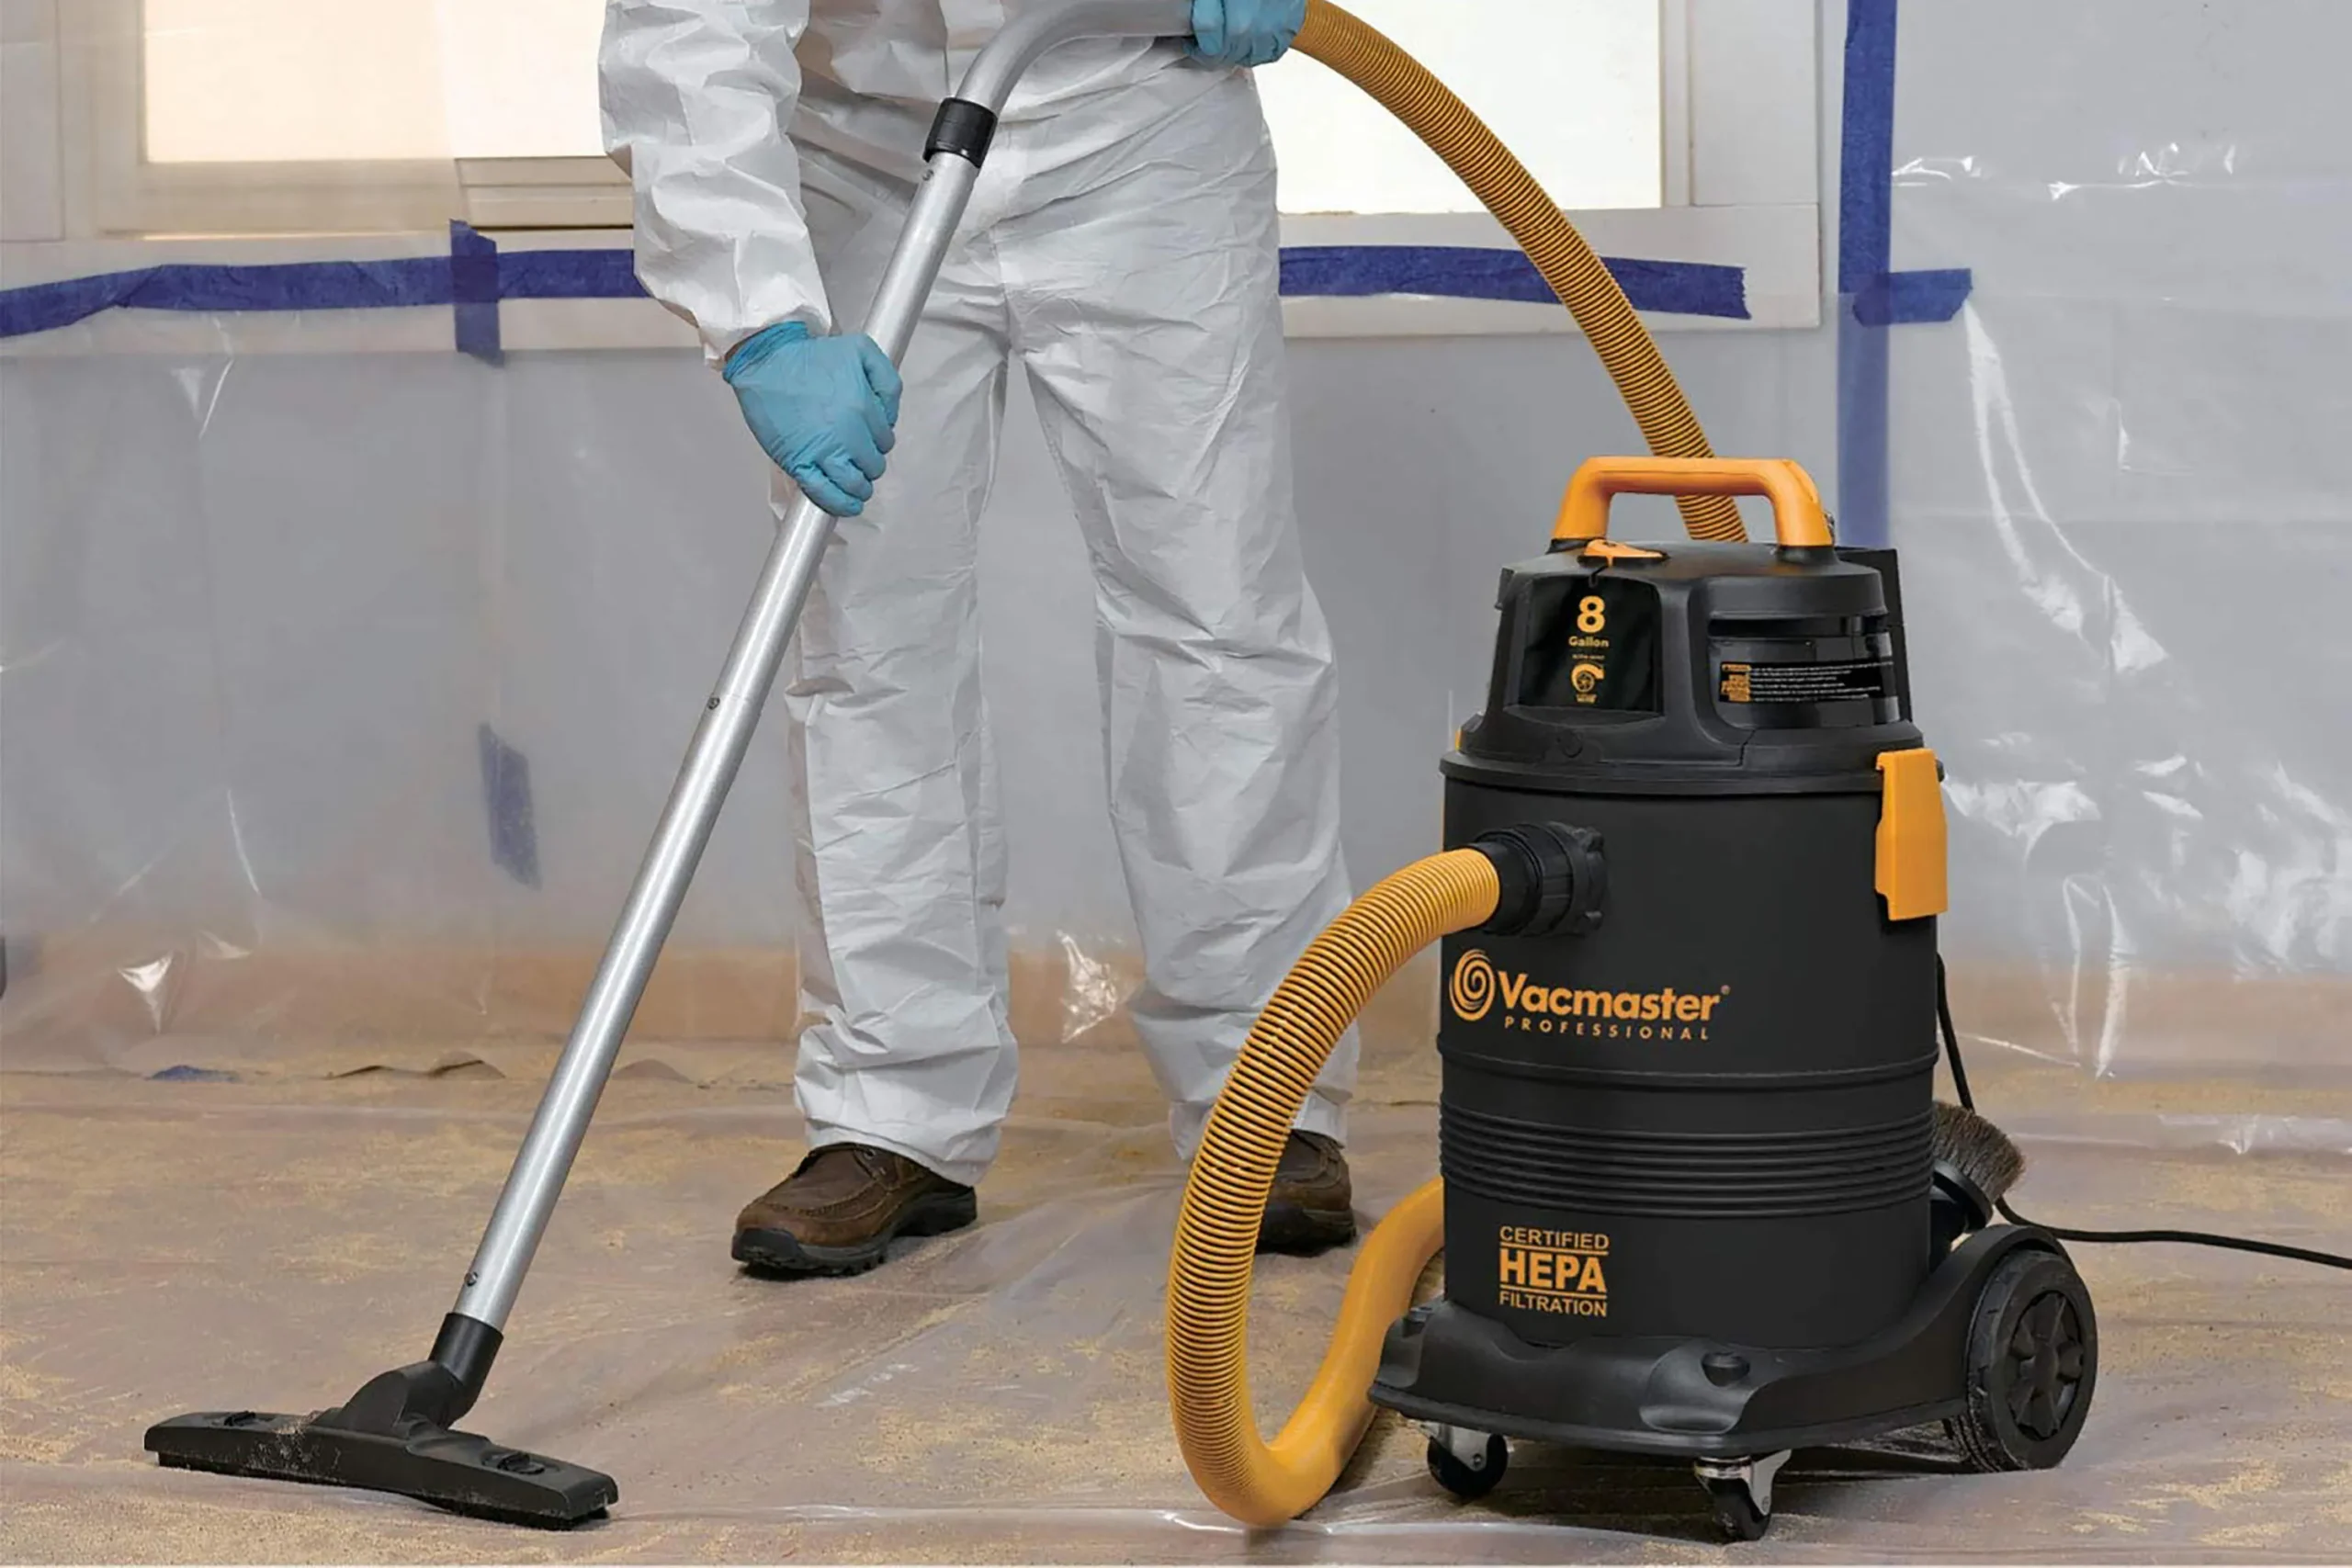
Vacuuming at the end of each day of the home improvement is essential to keep control of the dust. Consider purchasing a shop vacuum attachment for drywall sanding dust.
Throughout the renovation project (however long your home renovation will take), keep the shop vacuum nearby and use it to remove any dust that begins to gather. Also, endeavor to wear a respirator or dust mask to protect yourself as you deep clean your house.
Even though the spread of dust is inevitable, it is only wise to take the necessary precautions to minimize dust throughout your renovation.
As the leading builders in Cheshire, It’s practically impossible for us to sit here and tell you that it’s feasible to keep renovation dust 100% contained, but with a little bit of upfront prep and adhering to the shared dust containment strategies, it is possible to keep it under control and restricted to the areas you are renovating.
At Elliott Construction, we provide a vast amount of home construction services and products to the North West. We build new homes in Cheshire, including the following areas: